Do you think images matter in a blog post?
Yes they definitely do.
Let’s face it:
We as bloggers can’t be good at graphic design too. And that’s nothing to be ashamed of.
But this doesn’t gives us the privilege to use images that really “suck”. It doesn’t matter if you are just starting or at your peak in blogging. Images matter!
In this post I will share some of my tips and methods which I use everyday to create awesome blog images.
I’m really sorry for not posting content regularly. I know you cherish each blog post I write.
More...
Let’s dive right in.
If you have not joined our “Private Facebook Group” do it now.
Thrive Leads Shortcode could not be rendered, please check it in Thrive Leads Section!
The Ultimate Guide on Creating Blog Images
Why Images need to “Good”?
As a blogger, you will read everywhere that the content and way you present the content is the key. Well, it's true, but images are also important.
Why?
Featured Images are one of the first things people see. So whether it's an FB ad or a social share, it is the key in forcing them to read the article.
Still Confused?
So I will share a small experiment that I conducted recently that will prove you that “images” carry a lot of importance.
I am a regular reader Blogging Wizard. Apart from their awesome articles they have some great looking featured images.
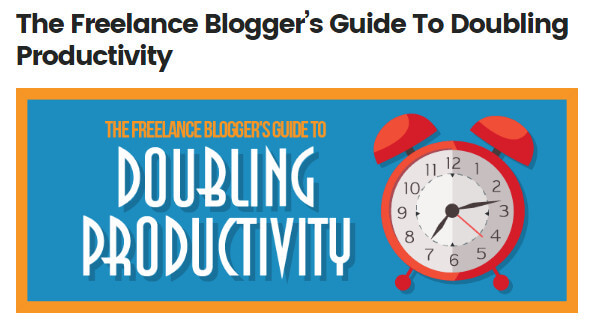
And after each blog post they post on their blog they promote it through FB ads.
I asked few people in the blogging community that “ How they create such images?”
All seem to give the same answer “Photoshop”. But I wasn’t satisfied.
So I reversed searched the image and I found a goldmine. A site using which you can download some wonderful templates and free images.
Don’t worry I will mention the site below.
No this was not the experiment :p .
I tried two images in my recent blog post “What are Newbie Bloggers doing Wrong? My Honest Opinion” and shared it on the social media.
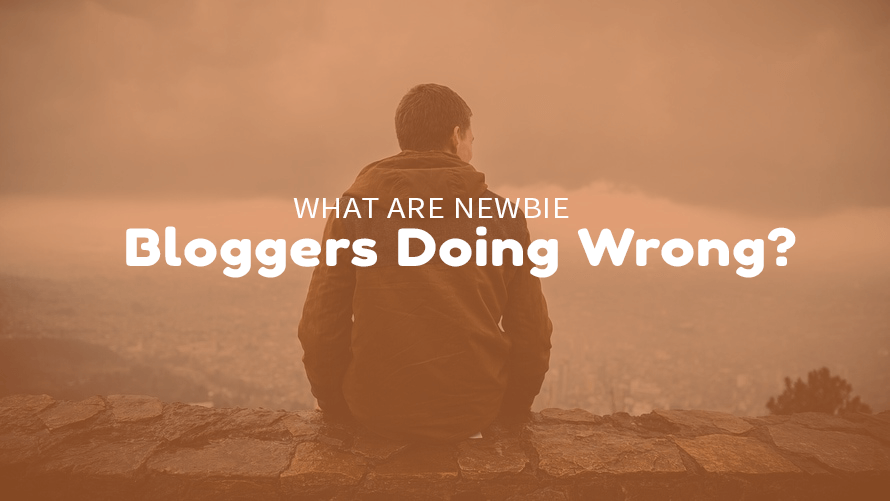
This is the first image
To my surprise I got 35% visitors by using the latter image. This left me wondering the amount of traffic I was missing on.
I will attached the images below and exactly figure out which one is better and why?
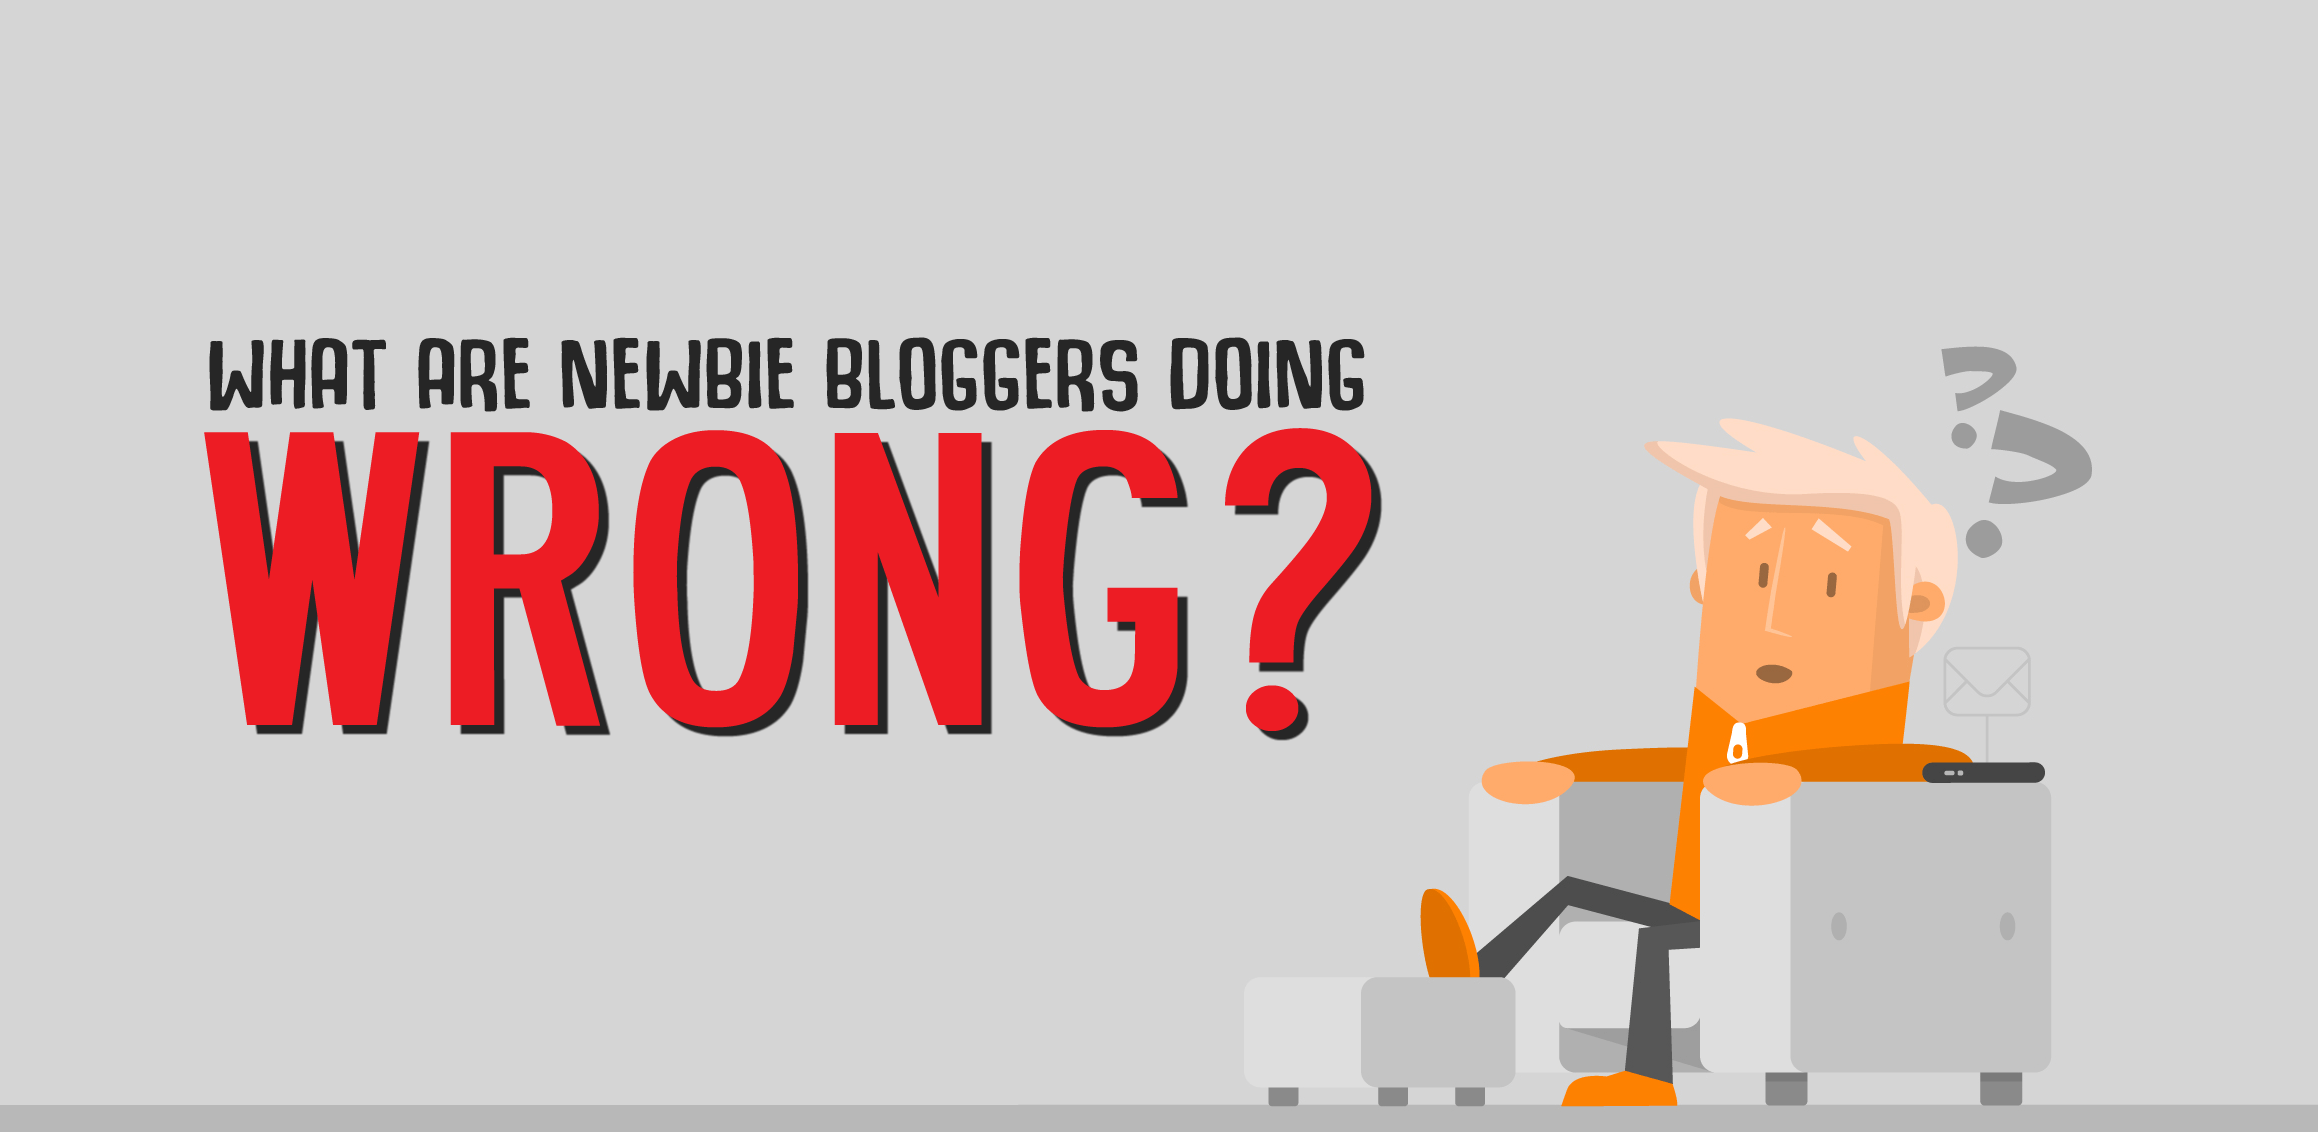
This is the second image
I quickly changed many featured images on most of my popular posts after learning about this.
This is not only about featured images. If you are creating graphs or some other image for your blog then make sure they look good professional.
Why does Infographic gets more share and repins in comparison to other blog posts? This is because the human “eye” likes visual content. It stores them longer too.
So how can you create these awesome blog images for your site?
There two main ways you can do this. Either you can use an online platform like Canva or you can use an application like Photoshop.
I personally love Photoshop.
Before diving into the tools I want to tell you something about typography.
Typography and its importance
Typography is essentially an integral part of graphic design. But bloggers should also know about it.
I won’t go too deep. Don’t worry?
What is Typography?
In simple terms “Typography” is way you arrange letters on a paper.
Some actionable tips-
#1. Make sure your text is aligned
Whenever you use a a online tool like Canva make sure all the text elements are aligned to each other.
People like aligned text, and it looks good too. In the previous image, I showed you can clearly see that the words “ WHAT ARE NEWBIE BLOGGERS DOING” and “WRONG” are aligned to each other.
The Ultimate Guide on Creating Blog Images
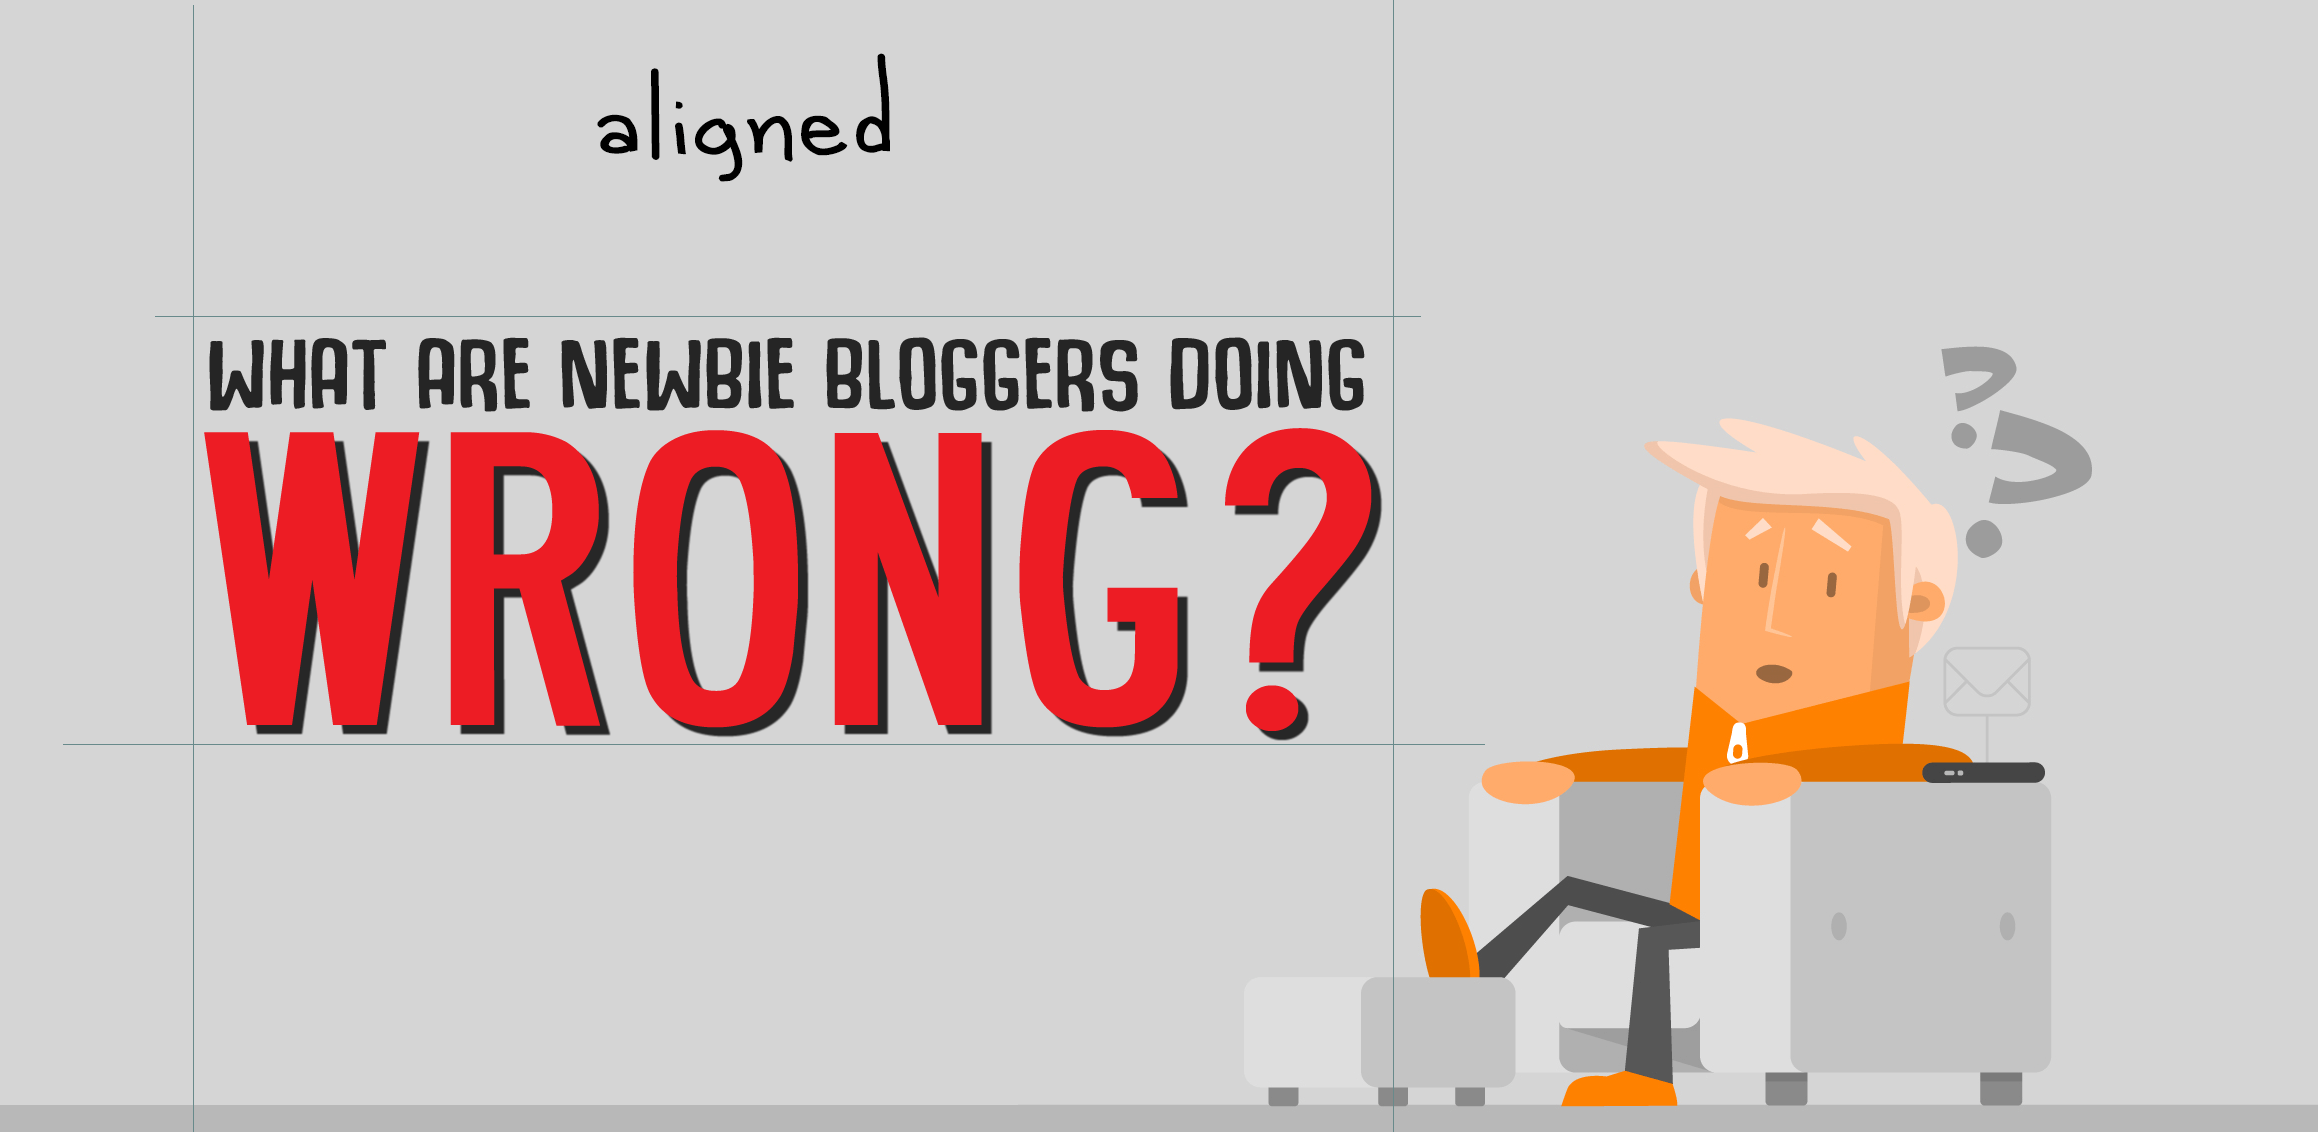
You need not copy the same thing for your images. They can be any number words but make sure you align them properly.
#2. Use a good font
Please, don’t use “ Comic Sans” and other fonts that come with Windows. You needn't worry about this if you are using an online platform.
So which font should you use and when?
You find some great free fonts online. I will link some sites below.
I will also mention some fonts that I personally used below so you can easily get it them online.
Capitalized text - This form of text shows seriousness. I would prefer this text in my featured images.
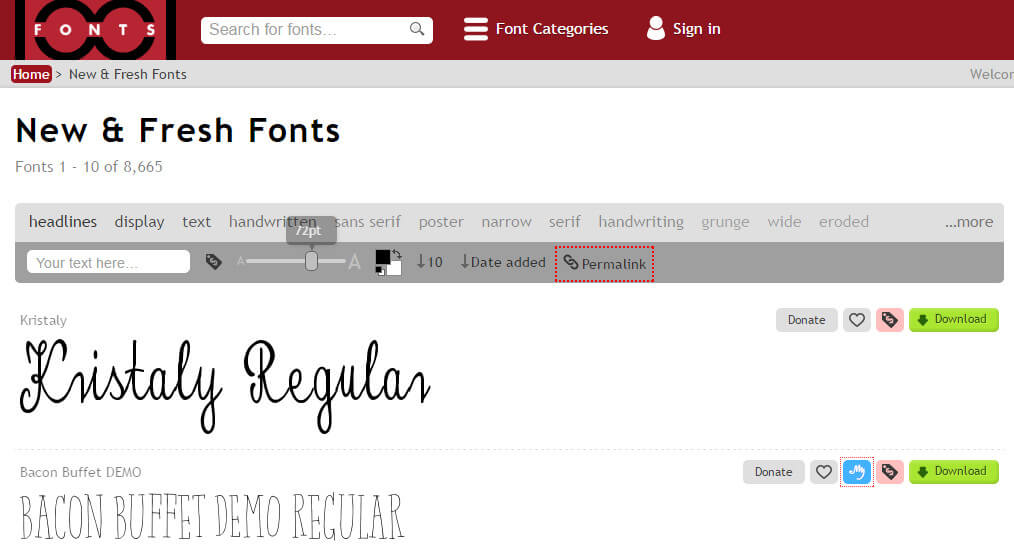
This is just a personal choice. You play around and find which is best for you.
Lower Case - This form of text portrays something cool and funny. If you follow AIB on Instagram or Facebook, you would have notice this the case they use in the images.
Some fonts I use -
1. Roadway
2. Fredoka One
3. Coolvetica
4. Hogfish Demo
5. Monument Valley
6. Montserrat
You can get them on site called 1001Fonts.com.
#3. Don’t use a lot of fonts
I see many bloggers using a lot of fonts in their featured images and in their infographics.
My recommended number would be two. Too many fonts will make things look too sophisticated and most importantly it looks bad.
Your images won’t stand out.
#4. Emphasize the “key” word
Try to emphasize the important keyword. Every blog title has a word which attracts the reader’s mind.
If you recall the previous image the word “Wrong” was the biggest from the rest. No, this was not because the word was the last LOL 😛 .

The main motive was to show people the mistakes bloggers make in the early stages. So when a people see the word “Wrong” they would want to know if they are making those mistakes or not.
It is simple. Ain’t it.
#5. Colors matters
Colors matter but don’t use many of them.
Make sure they suit the background you are using.
Eg:- You would not want to use a light colour on white background.
Some cool color combinations-
a.Black and Red
b.Black and Yellow
c.White and Blue
Another thing you will notice that the wrong “Wrong” is in the colour red. Red colour is always used to show something dangerous.
This is the reason the symbol “Stop” or “Exit” will be in the colour red. Red colour attracts the eye more than any colour.
These tips are more than enough to make awesome blog images.
1.Online Tools
a.Canva
Canva is arguably the best of the lot. And the best part is that most of the features are free of cost.
You can make everything from creating Ebooks to Infographics.
Let’s explore this tool more.

Screenshot of Canva.com
All you need to do get started is create an account. After this you are good to go.
Another awesome feature is all your creations are automatically backed up and stored in the account.
There are tons of amazing templates to choose from. Most of them are not free though.
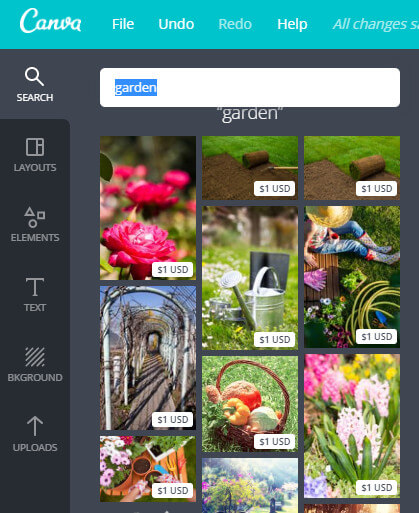
The paid photos and templates will cost you 1$.
But there are lots of free symbols and cool fonts that will help you make your masterpiece. But I will still recommend Photoshop if you have the basic skills for it.
Using the tool is simple.
Steps
#1. Click on create a design
#2. Choose a predefined dimensions or your own
#3. Start Editing
The first menu is the “search”. You can choose from one lakh stock images to use in your image. Unfortunately you need to pay 1$ per image for most of them.
The second menu is the “layout” where you select various column options. You some great free templates where you just need to edit the text and you are done.
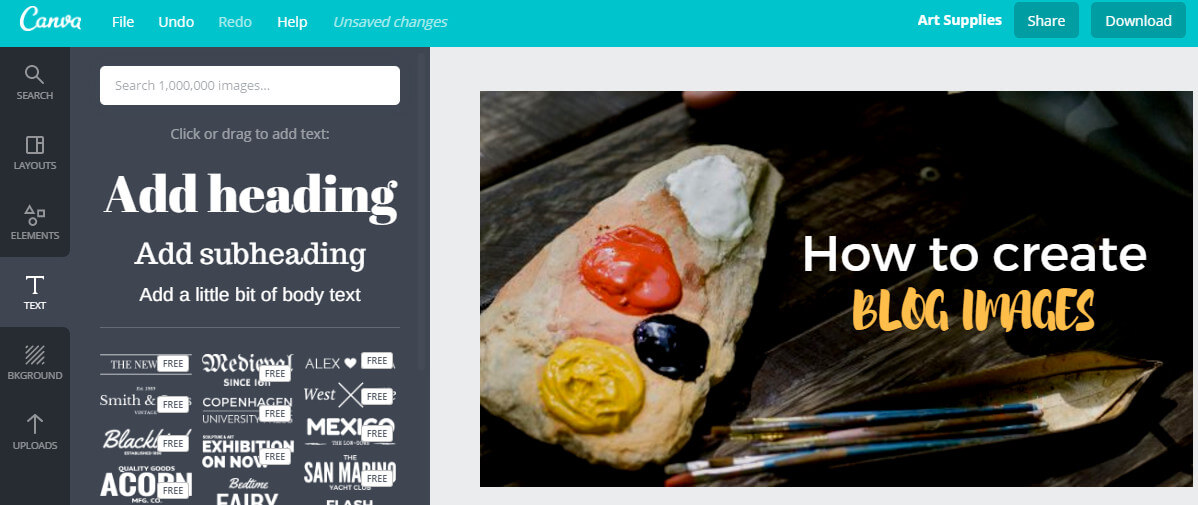
Different templates are shown according the dimensions you use. It is great to creating FB ad pictures.
In Elements you get things like free photos, grids, frames, icons and charts. These elements are very useful if you need create something original from ground up.
You also have Text and background which also contain many templates.
The overall functionality of the interface is sweet and simple. You will also see grid and options to keep something back and front.
Lastly you can upload your stuff too. So you have any images that need in the image you can that too.
You can also easily import images from your Facebook.
Exporting Options
You can either export your work to a JPG, PNG or a PDF. But don’t expect the transparency in a PNG image. You need to buy a premium account for that.
Is it worth the price?
Canva is great tool. But is it worth the money?
It starts at 13$ a month.
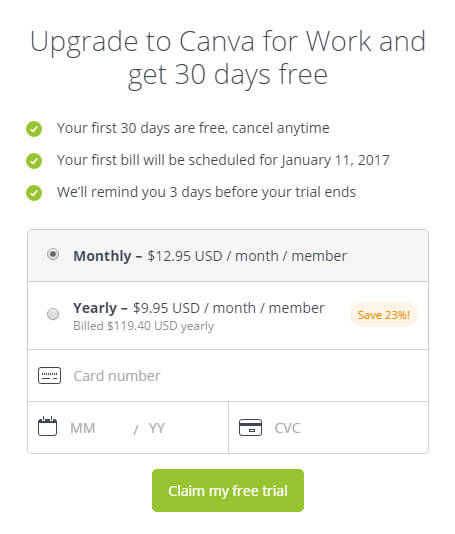
If you do a lot image stuff then it's totally worth it. But if you are only a new blogger then you are better off using the free version.
You get some cool features like layout creators and magically resize. You can also import your logos and other things easily.
Final Verdict
Canva = LOVE.
b.Stencil
Stencil is another great tool for creating featured images.
But it is limited for free users.

It is some amazing templates for creating featured images. But that’s paid too.
Starting at a hefty 9$ a month is not worth it for that price.
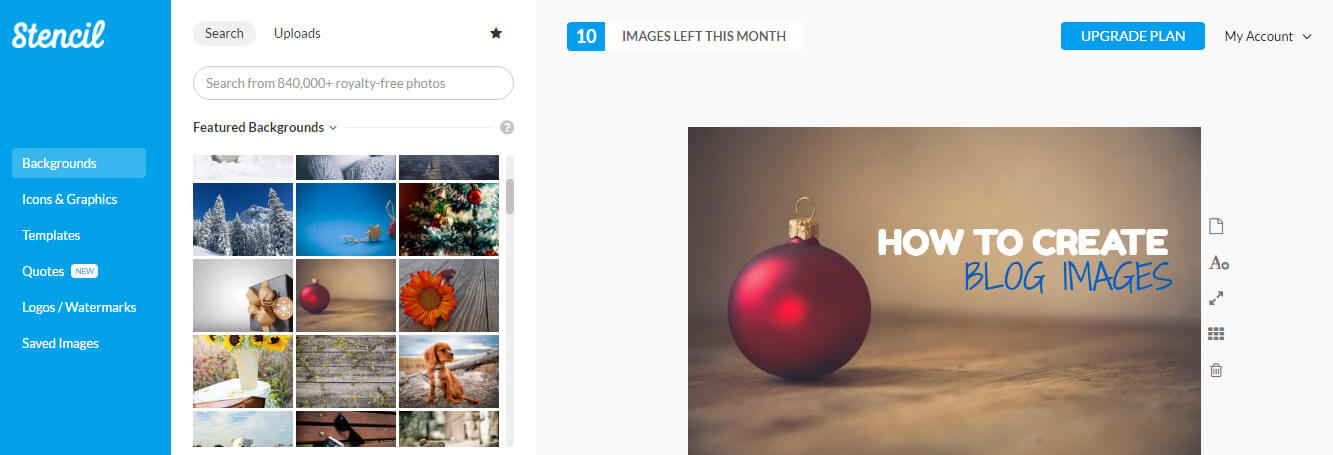
What I love
- The templates are very good and
has been designed by keeping a blogger in mind. You will love it. - The interface is quite simple and easy to use.
- There are many icons at your disposal. Over 2 lakh+ icons.
What I hate
- Not worth the money. You are better off buying Canva.
- Limited functionality
- The free version allows you to create only 10 images which is not enough.
Final Verdict
You can use this tool if you are looking to create only blog images and have some cash to spare. Canva is way better.
c.Picmonkey
Picmonkey is another awesome tool to create images. But it's not a free tool.
Not only can you create your custom images but you can edit your photos too. It is more of allrounder tool.
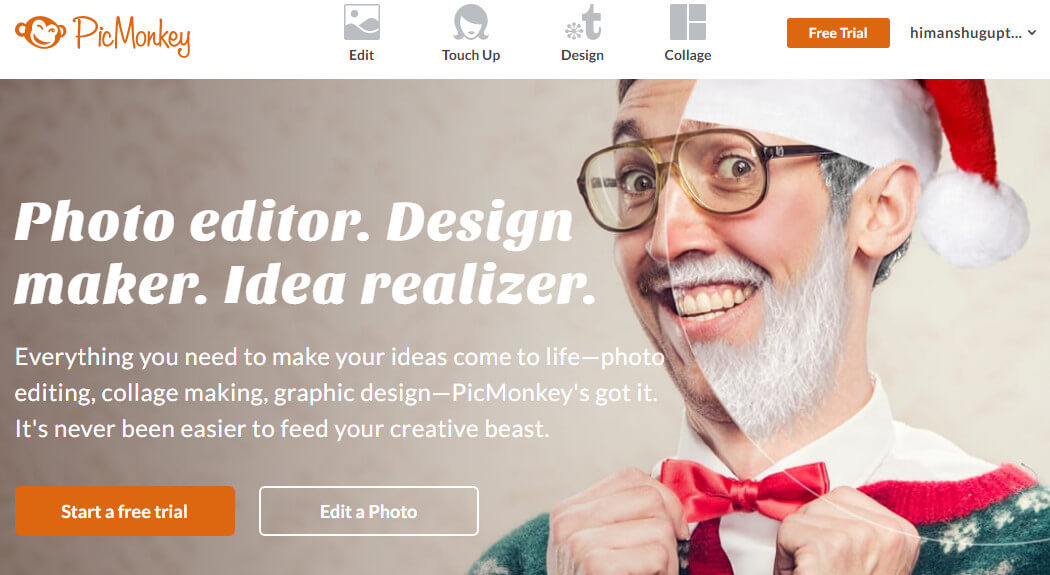
It is very cheap compared at both of the above at only 5$ a month.
You can play around with 100’s of effects and premium fonts to not only edit your family photos but create new one’s.
You can also create beautiful collages using this tool. Album Covers are also covered in the tool.
Unlike Canva which is only available on IOS, PicMonkey comes on both the popular platforms. This gives you the freedom to edit your photos on the go.
Cool.
Final Verdict
If image editing is your thing then PicMonkey is the best.
Want Traffic - Check out 25 Kickass Websites to Promote your New Blog Post
2.Offline Tools
a.Photoshop
Photoshop has to be the best graphic design tool the world has seen. I love Photoshop.
Nothing comes near this tool.
But the truth is Photoshop was never made to create new images, you have Adobe Illustrator for that.
Either way this doesn’t matter now.
So how can you use photoshop to make stunning images.
If you have seen my recent featured images they have this image and some text over a colourful image whose opacity is decreased.
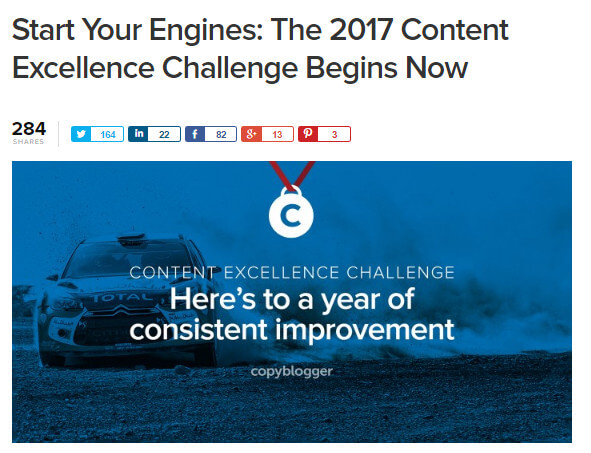
Copyblogger uses something of that sort.
I will just show you how you can do the same for your blog too.
First you need to find a free stock image you will use for your blog. I prefer Pexels for this but you can use hundreds of other sites.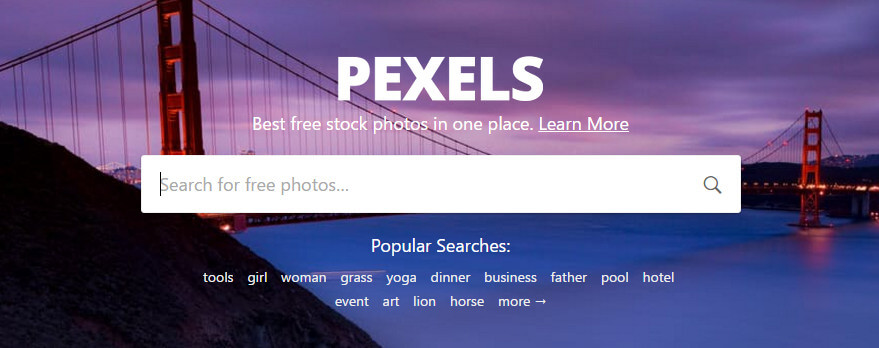
Second thing is fire up Photoshop. I am using the CC version which you can download for a 7 day free trial from their main site.
After this you need you open the image you just downloaded.
From the Layer Menu click on Create a New Layer.

After creating the layer choose a suitable colour and using the paint bucket tool fill the image.
After this decrease the opacity to about 60%. You change this by checking the options on the right side.
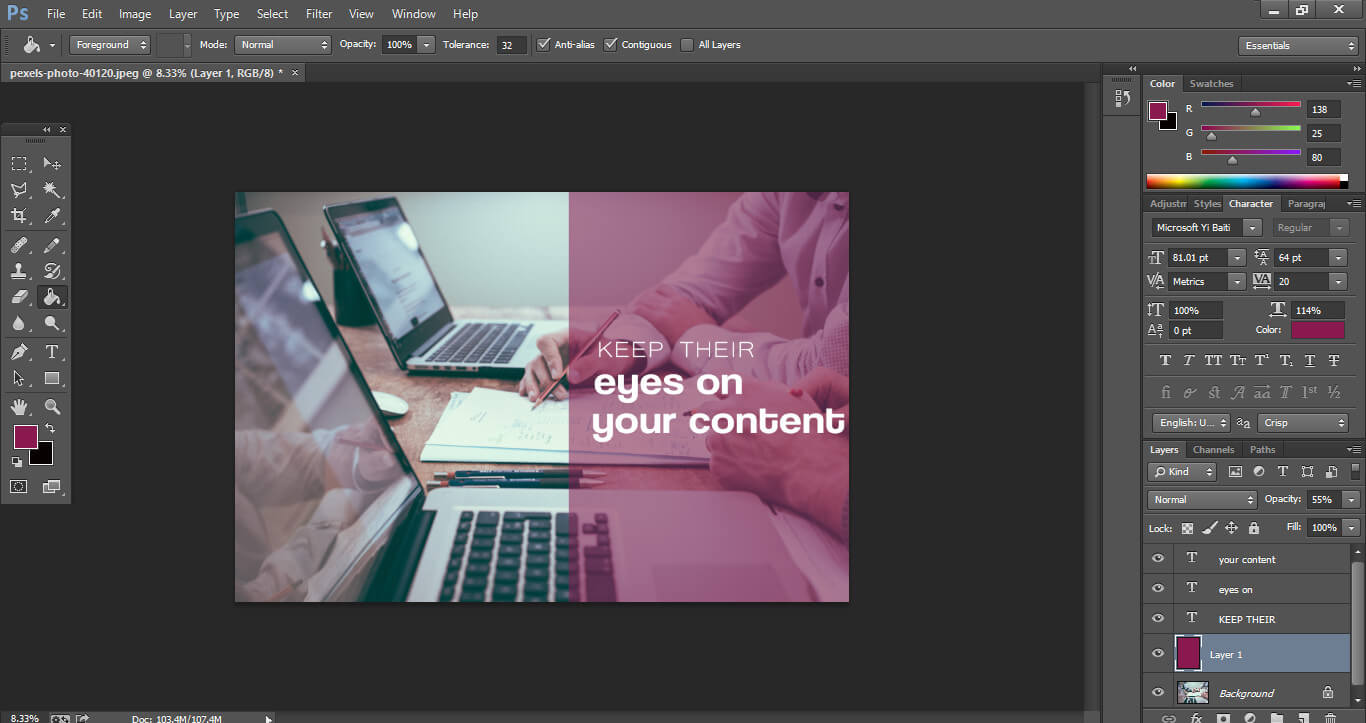
If you want to fill a certain area you can use the command Ctrl+T and select the area.
Just write the text and you are good to go.
Always export the image in a PNG format or JPG one
Also compress the image using a tool like Tiny PNG.
Use the grid to help you make sure the text is aligned.
b. PixelMator
PixelMator is Mac exclusive tool. It has similar to Photoshop.
You can also use PixelMator for all these stuff.
Some controls are simpler than Photoshop.
c. Sketch
Sketch another great tool for creative professionals. A great alternative to Adobe Tools.

You can make use of that tool too.
Problems with rankings - The Complete Guide on Web 2.0 Link Building
How I create my featured images?
1.I first go to FreePik. It is
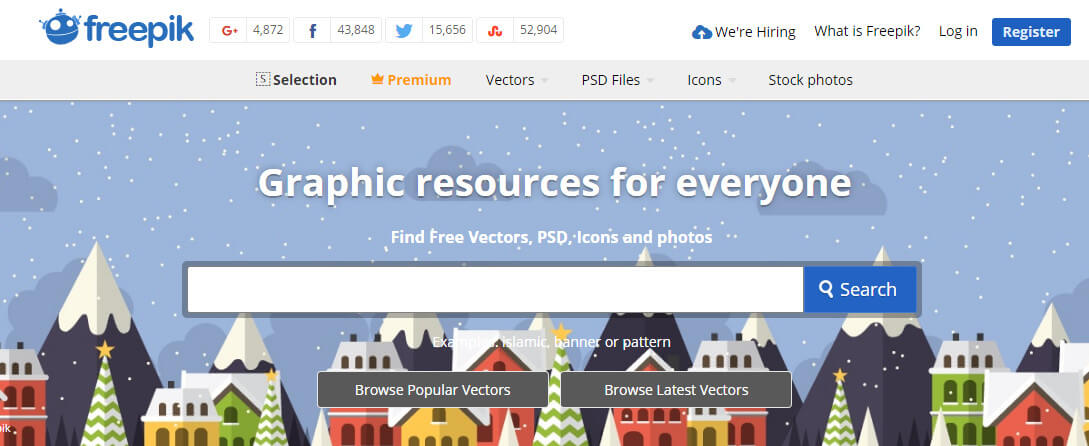
2.Then search for a topic. But don’t be too precise. For example for this post I can’t search for featured image or blog image and expect to get results.
I searched for happy. This is because I know I want to show people that using this method will bring them success and happiness.
And when you are writing about featured images and blog images you need to make sure that your’s is quality 🙂 .
The Ultimate Guide on Creating Blog Images
3. After this download the image. Edit it using your favourite editing tool.
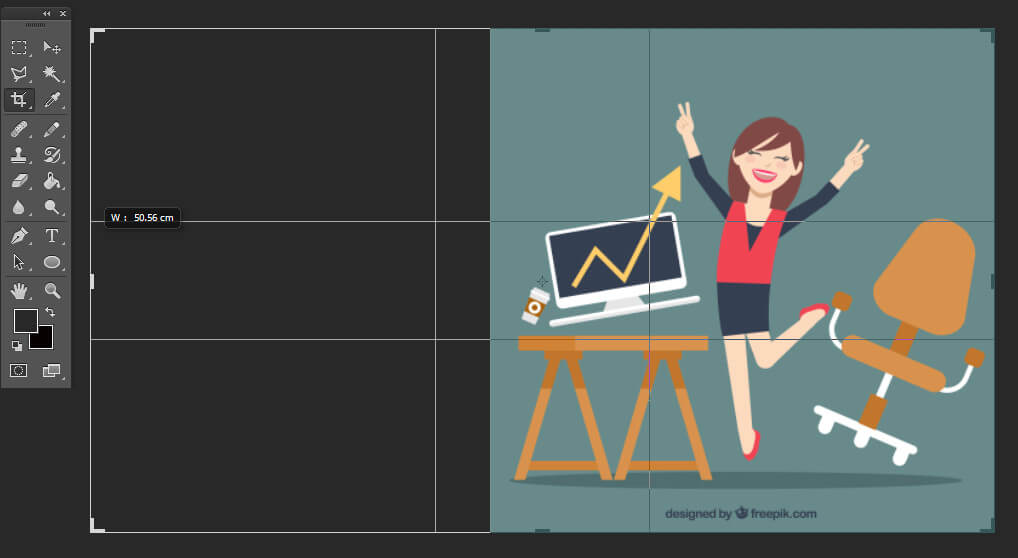
4. Most of the images I choose are vectors. They look cool 🙂 .
5. After this just resize the image according to the size you wan’t as shown in the image below. In Photoshop you use the crop tool to do the same.
6. Then fill it the same colour as the background using the eye dropper tool.
7. Then add your text using the Typography Tips I mentioned earlier.
Conclusion
I hope you liked the tips and tricks I shared above. If you have not joined our “Private Facebook Group” do it now.
What tools do you use to create your featured image? Drop them down in the comments.
I would love to know them.
Better the images more repins will it get on Pinterest.
Thanks.
Hey Himanshu,
Thanks for such amazing guide which you have shared. Canva is really a nice tool. I like snappa as well. That is also a good tool. And yes freepik is a nice website to find royalty free images. Check pixabay as well. That is also a good website to find some royalty free images.
Regards,
Shubhanshi
Thanks Shubhanshi for such a lovely comment again.
I will try Snappa. Thanks
I use canva and pixlr for editing pictures and bannner whenever i used other pcs. By the way great post and very recalling
Thanks for the comment mate.
Hello,
Thanks for sharing this article.
I really loved the content and also found it worth sharing on my social media platforms.
thanks,
Piyush
Thanks Piyush for stopping by for this lovely comment.
Good one! Thank you for sharing such an informative content.
Thanks mate
Hey Himanshu,
A picture is worth a thousand words. This is why all top bloggers utilize images to grab attention and effectively convey their message.I definitely agree with your all points.
Effective visuals are extremely powerful when used correctly to communicate an appropriate message – it really shows positive result. Visuals are a great communication medium because they lend themselves to creative freedom, we need to remember always stay on board with our company message and create and spread content that reflects our brand.
I’ve noticed in your post you have discussed about three online image tools, they are really great with their features mostly I go for canva when subject comes to Image editing. Eventually, thanks for sharing your best experience with us.
With best wishes,
Amar kumar
Thanks Aman for your insights.
Hello Himanshu,
It is indeed a great joy to be here on your page.
Good to read this informative piece. I know about Canva and PicMonkey and am using them too for making my images for blogs.
Will surely check the other platforms.
Thanks for sharing,
Nice to join in your fb page too.
Keep sharing
Have a great time of sharing ahead
Best
~ Philip
Thanks Sir.
It is pleasure to see you here. It is really motivating.
Hey Himanshu,
I am a big fan of Canva. I had no idea about online tool Stencil, listed here and that I could create an image in a minute.
You have really provided me the best image creation tools to make my blogging task very easy.
Thanks, Nikhil.
Hope you make some create stunning images too. Share in my private group.(Link in the sidebar)
Hello Himanshu
Thanks for this wonderful post buddy.Before reading your this article on how create this type of wonderful image i was literally confused which text,color,size will suit it.But after reading your content i figured out some cool points like typography before reading this post i don’t what does its mean thanks for telling wonderful tips.My next post image going to be awesome due to your amazing image ????.Again thanks for writing this valuable content.
Best regards
Sahil suman
Founder of trickydad.com
Thanks Sahil. Glad it was useful . Check out my other awesome articles too 🙂
Hi Himanshu Gupta,
first of all Thank you so much. Color selection tips are awesome. I always prefer white and blue.
Hey Shuba ,
Glad you liked the article.
Keep visiting 🙂
Hi Himanshu,
Thank you for this informative blog, Sharing so much knowledge about the photo editing tools.